
LET THE FLUID FLOW
A Step-by-Step Guide to Replacing Your Brake Fluid
Every 5,000 miles, many simple car maintenance tasks were required. However, because to advances in engineering, most of them can now wait for up to 100,000 miles. One exemption is the requirement to inspect your brake fluid at least every two years—or even sooner if you drive a lot. If a visual inspection (or the use of a test strip) reveals that it's time to add or replace your brake fluid, don't worry: it's one of the simplest automotive DIY projects. Here are a few pointers.
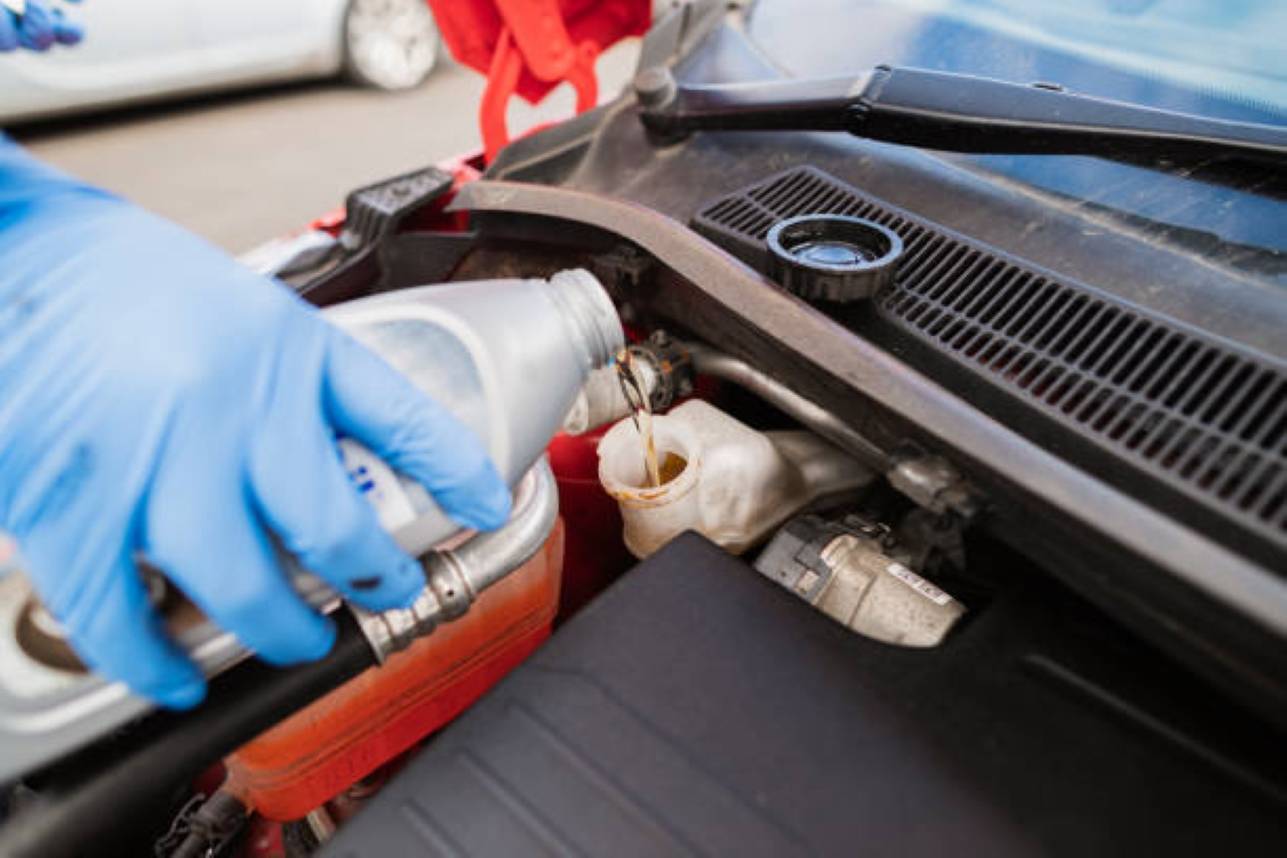
Locate the clear plastic brake-fluid reservoir in the engine bay first. Minimum and maximum levels are denoted by hash marks. If the level is low, it's time to top it off with brake fluid. When adding or replacing brake fluid, always consult your owner's manual for one of these exact recommended types.
- DOT 3
- DOT 4
- DOT 5
It is critical that you only use the prescribed type of brake fluid and do not mix various types.
The procedure of removing air bubbles from the line and replace old brake fluid from the system is known as "bleeding" your brakes.
Individual brake lines deliver fluid from the master cylinder to every wheel's brake caliper in today's cars. The new fluid from the master cylinder can be pushed, pulled, or pumped to each brake caliper. This technique is done for each wheel, beginning with the farthest (typically the right rear wheel) and progressing to the closest (the left front wheel).
PUSH THE BRAKE FLUID
We strongly advise you to use a power brake bleeder to change the previous brake fluid with new fluid. This gadget is made out of a tank and a hand pump, much like a pressure sprayer. Fill the bleeder tank with new brake fluid, connect those to the master cylinder reservoir, and pump it up to seven to ten psi. Raise your car one wheel at a time, using jack stands to secure it. Then, to access to the brake caliper, detach the wheel and locate the brake-bleed nipple on the caliper. Attach the caliper to a piece of clear plastic tubing to drain the old fluid into a container or can. Start opening the nipple with a little wrench, and watch the fluid drain.
You may notice air bubbles, small pieces of rust, or other debris as the brake fluid drains. When the brake fluid turns clear, it indicates that the line and caliper have received new brake fluid. Continue for the remaining three wheels.
THE PULL METHOD
Pulling the brake fluid into each caliper is a modification on the operation. You can remove the brake fluid from the master cylinder reservoir using a vacuum brake bleeder. You will push out the old brake fluid one wheel at a time, just like you did with the push process. The only disadvantage is that you must ensure that the master cylinder reservoir has enough braking fluid as you switch from wheel to wheel. Both the push and pull methods are simple to execute even without assistance of a helper.
Find the auto parts, used parts and buy vehicles you need at Autotek.ae, the leading online marketplace for the automotive industry.